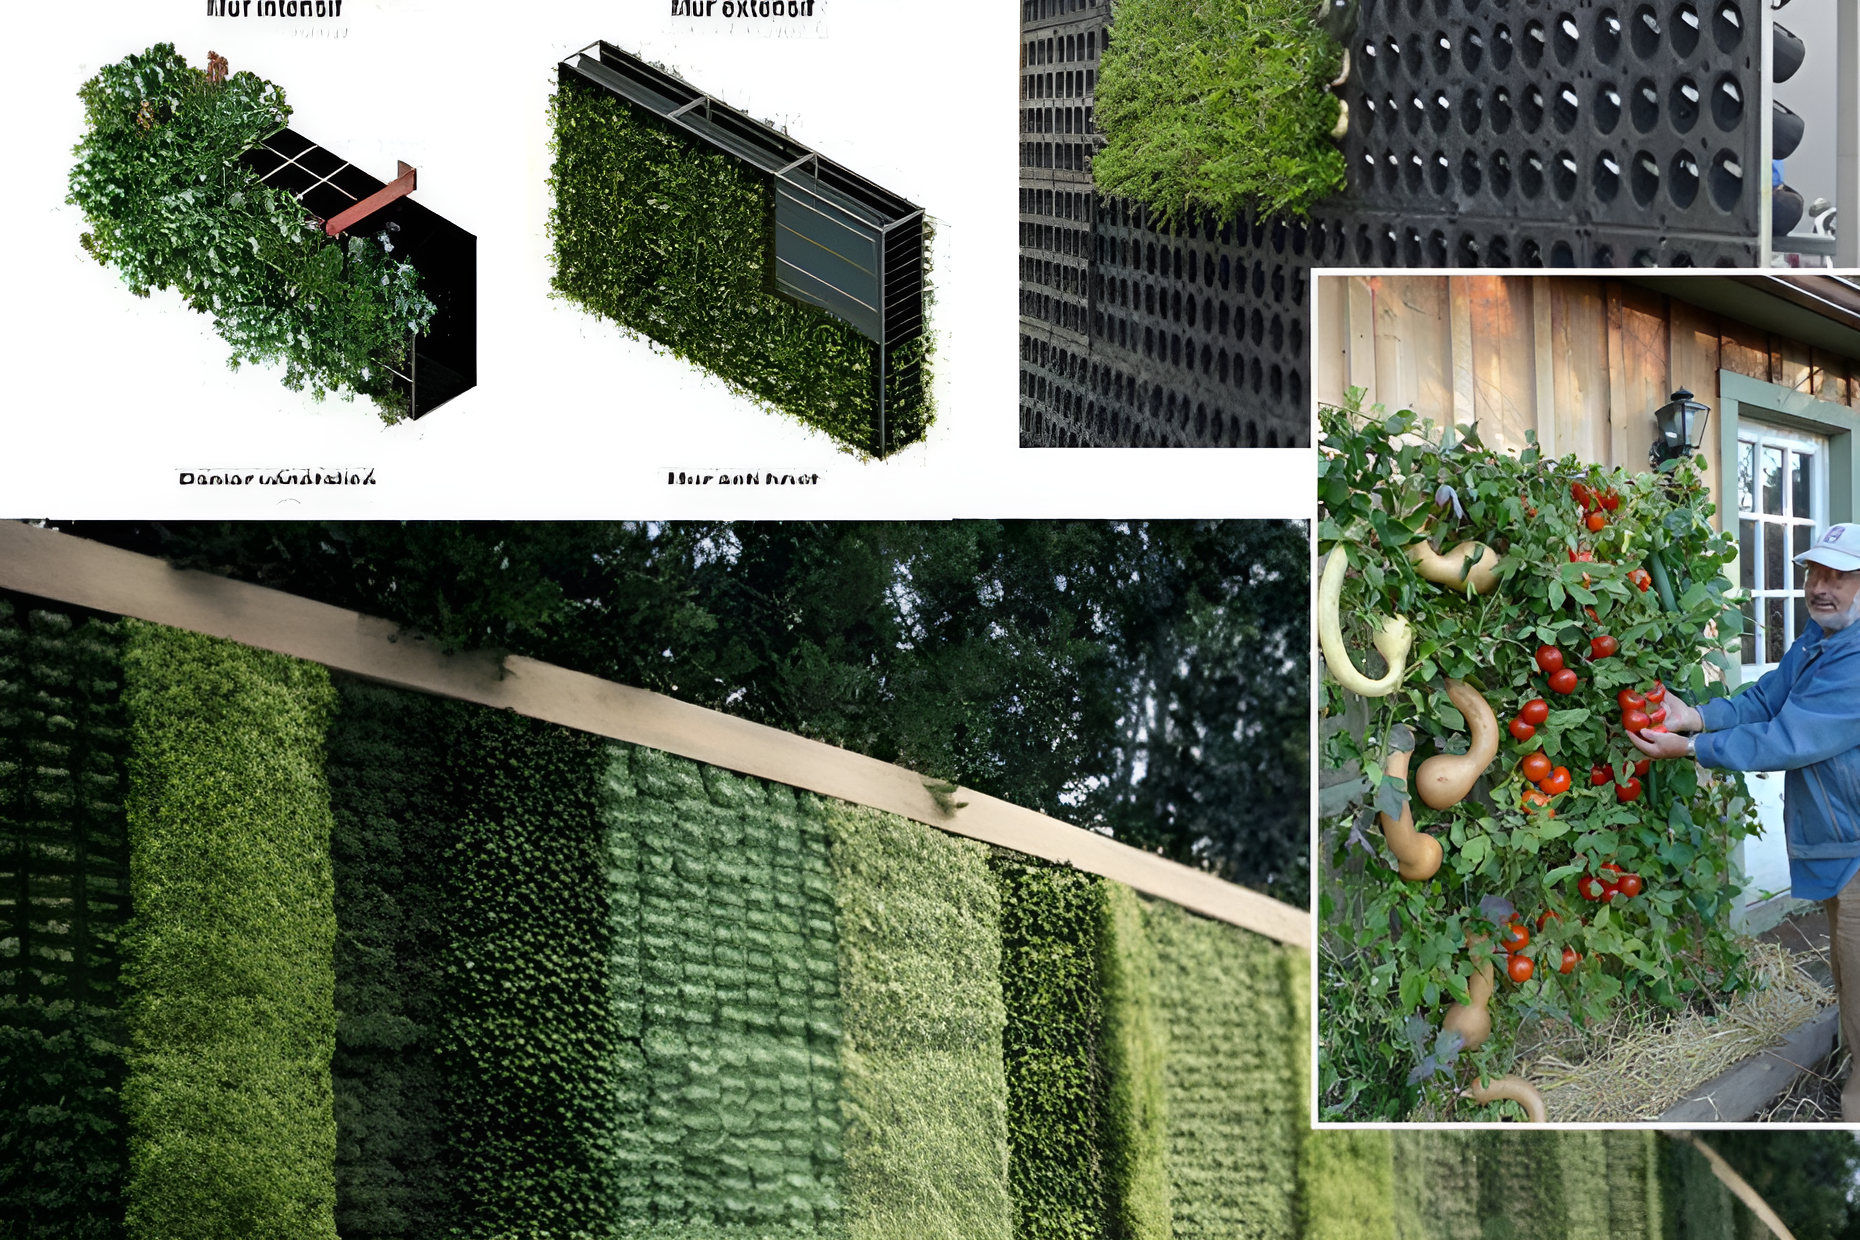
Building an edible wall is an innovative way to maximize your garden space, especially if the size of your garden is limited or you live in an urban environment. This vertical gardening approach not only beautifies your space but also provides fresh organic produce right at your fingertips. Follow these detailed instructions to build your own edible wall and transform a simple wall into a lush and productive garden.
Materials required:
- A vertical support structure (wooden pallet, metal frame or grid)
- High-quality potting soil
- Landscape fabric
- Stapler or screws (depending on frame material)
- Small plants or seeds of edible plants (herbs, leafy vegetables, strawberries, etc.)
- Irrigation system (drip irrigation or manual method)
- Optional: wheels for mobility
Step 1: Choose your location
Choose a location that receives at least six hours of sunlight daily. Consider proximity to a water source and the weight-bearing capacity of the wall or area where you plan to install the edible wall.
Step 2: Prepare the frame
If you use a wooden pallet or metal frame, make sure it is sturdy and suitable for outdoor use to withstand weather conditions. For a pallet, attach landscape fabric to the back, bottom and sides to hold soil in place. Use a staple gun for wooden frames or screws for metal frames. Leave the top open for planting.
Step 3: Add soil
Fill the structure with a high-quality potting soil, making sure it is packed tightly to prevent sagging. The potting soil should be rich in organic matter to nourish your plants.
Step 4: Choose your plants
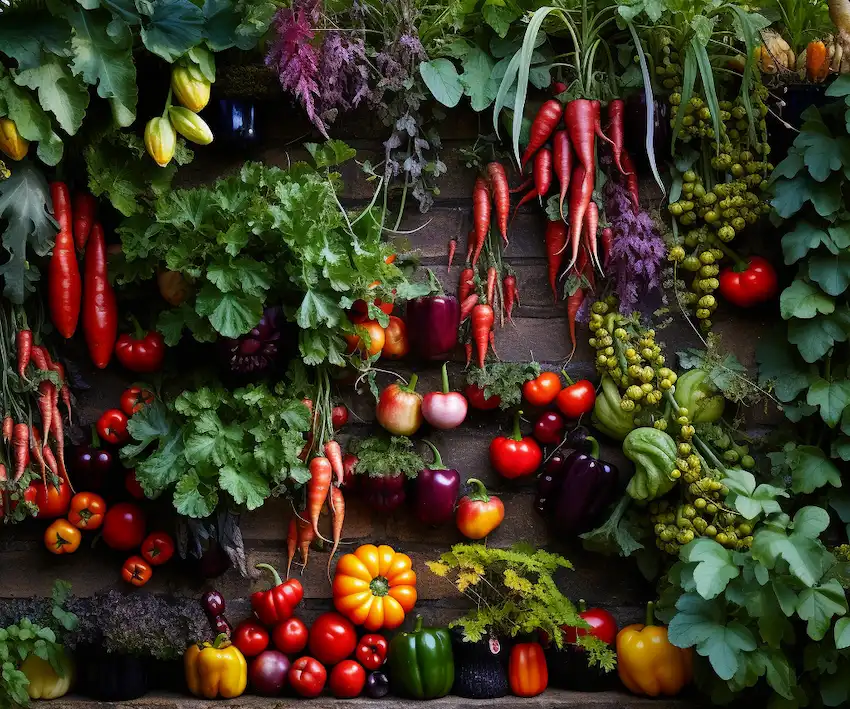
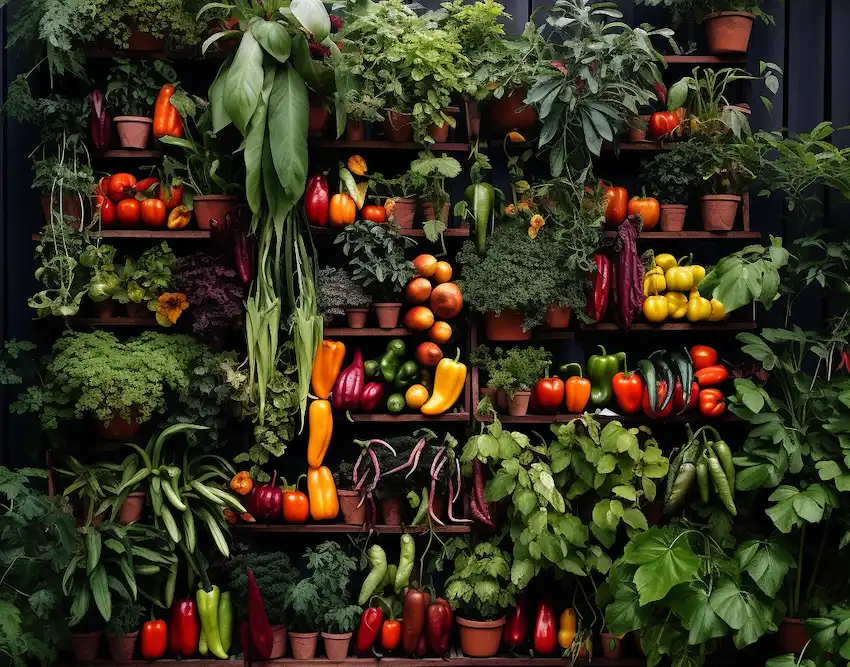
Choose a variety of edible plants that will thrive in your climate and sun exposure conditions. Consider using herbs, leafy greens, and small fruit-bearing plants like strawberries. For a quicker start, plant seedlings instead of seeds.
Step 5: Planting
Lay a wooden pallet flat for planting. Make small slits in the landscape fabric and place your plants in the slits to ensure they are securely anchored in the ground. If you are using a trellis or metal frame, you can use planters or specially designed bags to store your plants.
Step 6: Install the irrigation system
Set up a drip irrigation system to facilitate watering and ensure that all plants receive adequate moisture. If a built-in system is not possible, plan on a manual watering method that can distribute water evenly.
Step 7: Assembling your edible wall
Once you’ve planted, carefully lift your edible wall into the standing position. If you’re using a heavy frame, make sure it’s securely attached to a wall or fence that can support its weight. For greater mobility and to protect your wall or fence, consider adding wheels to the bottom of the frame.
Step 8: Maintenance
Check soil moisture regularly, as vertical gardens may dry out more quickly than traditional ones. Prune your plants to encourage growth and harvest regularly to encourage new yields.
Advantages of an edible wall:
- Space efficiency: Maximizes limited spaces through vertical growth.
- Aesthetic appeal: Adds beauty and greenery to urban environments.
- Accessibility: Makes gardening easier with less bending and stooping, ideal for people with limited mobility.
- Microclimate: Can help cool urban areas by providing shade and humidity.
Creating an edible wall in your backyard is a rewarding project that combines the joys of gardening with the practicality of growing your own food in a small space. With a little creativity and basic building skills, you can transform a bare wall into a lush, vertical garden that nourishes the body and soul. Whether you’re an experienced gardener or a green-thumbed novice, an edible wall is a sustainable and efficient way to enjoy fresh produce and bring life to your urban landscape.